


How to Test it if you have a leak
First test it out if you have a DNS leakage in your system. you can check this by going to this website. Note: using VPN does not stop dns leak 100%. you still check it out while your VPN is still ON.
if you switch off the VPN and check it again , then it will show a lot more.
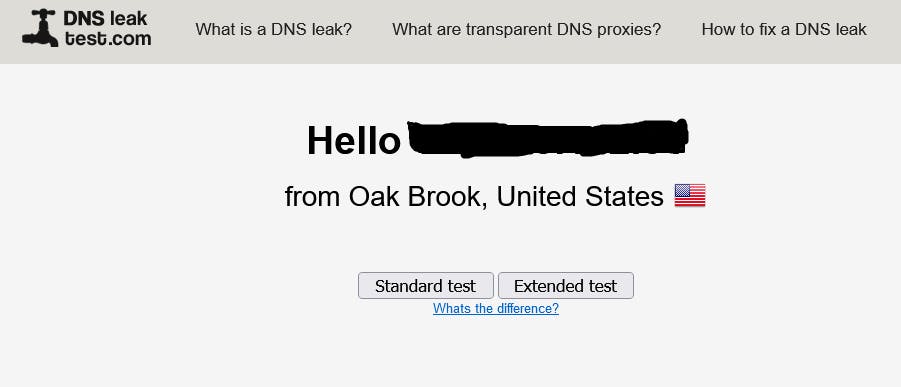
Then click on Standard Test button , if you like extended test you can but now use standard test.
After that you get this screen, if there is no DNS leak
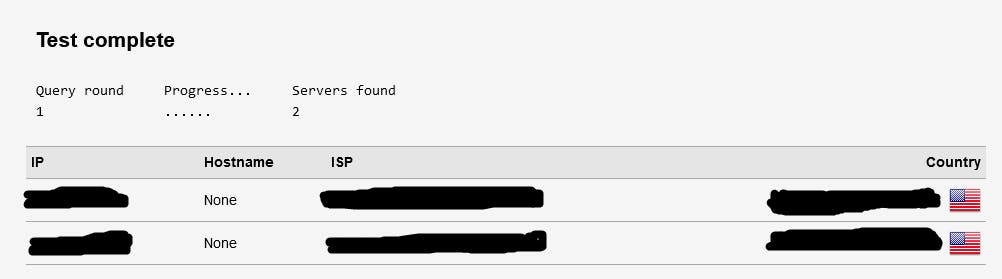
but if you see Hostname with random IP addresses or some other information that means there is a leak.
How to fix it
Without a VPN: what are we are going to do is switching over to DNS-over-HTTPS (DoH) from regular DNS lookup which is not encrypted.
DNS-over-HTTPS (DoH)
Search which secure DNS servers you like to use , its freely provided by
     -     google,
     -     Cloudflare and
     -     OpenDNS etc.
note: if don't like google ads then avoid google public DNS. check out these sites if you want to do a search - makeuseof.com/tag/best-dns-providers-security techradar.com/news/best-dns-server
for an example , Decide to go with google public dns , visit there site developers.google.com/speed/public-dns Configure your network settings to use the IP addresses 8.8.8.8 and 8.8.4.4 as your DNS servers.
how to configure network settings
These steps works for windows 10 and 11.
- First if you are using windows then search for control panel , then under Network and Internet -> view network status and tasks.
- Under view your active networks. choose the one that connects to your network usually(Wi-Fi name) i.e not any virtual ones but your actual network that you use to connect to the internet.
- Then now you see the Wi-Fi status pop up -> now click on properties -> then select Internet Protocol Version 4(TCP/IPv4) Properties.
- Use second option : Use the following DNS server addresses:
Preferred DNS server : 8.8.8.8
Alternate DNS server : 8.8.4.4
Network and Internet settings
Now we set the Wi-Fi network DNS but we still have to do one more change that is in the Network and Internet settings . from your desktop taskbar you can right click on your Wi-Fi to get to the Network and Internet settings , once you get there then you go to Properties that's your connected Wi-Fi then you see the message under DNS Assignment in yellow letter stating the DNS settings for all Wi-Fi has been set. Click on Change DNS settings for all networks,
- then for the first time it popup with DNS server 8.8.8.8 and 8.8.4.4 but there is an option to select encrypted , please select encryption option only this will secure your network.
- All is well now , we can go back to dnsleaktest.com and check if we still see the host-names. if all settings has be done as per the instructions it should will be showing any host-names.
Secure your browsers , if you don't want it in your network settings.
- Firefox browser -> Settings -> General -> Network Settings -> Settings -> Enable DNS over Https ->
- select one of the DNS providers from the list.
- for chrome browser -> go to setting option then privacy and security , then go to Advance use secure DNS.
- Microsoft Edge -> Settings -> privacy,search and security -> Security -> Enable use secure DNS button then select choose a DNS provider from the list. note : in Edge it defaults to use current service provider even if you select every time.not sure if its a bug or something I'm doing wrong here let me know in the comments section. Thanks for reading this article.